CNC Machining Technology Processing
1. What are the three methods of workpiece clamping?
A. Clamping in the fixture;
B. Directly find the formal clamp;
C. Line and find the formal clamp.
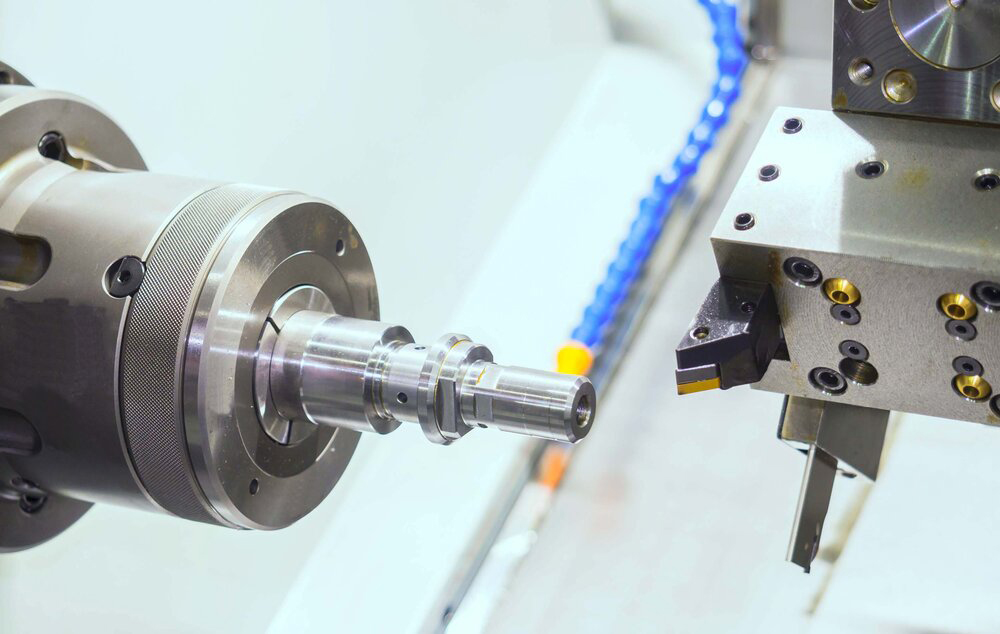
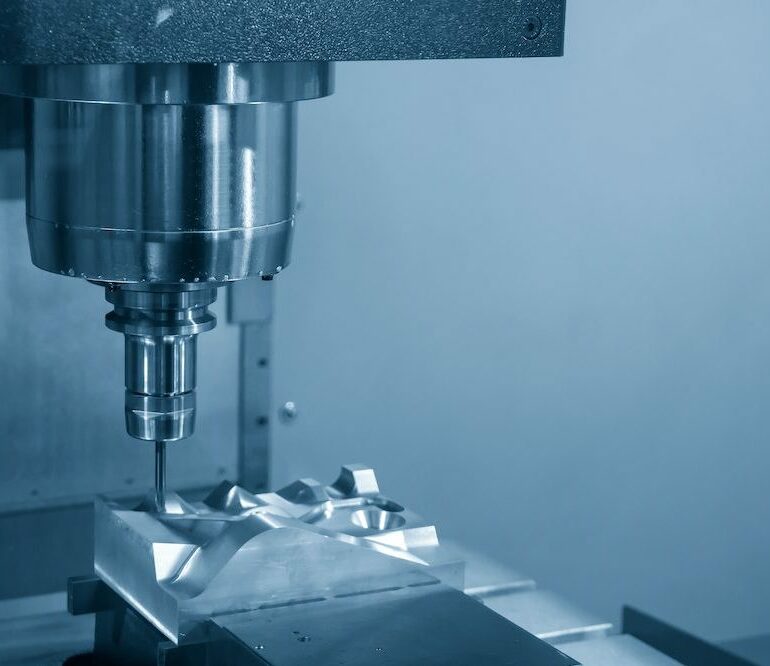
2. What does the process system include?
Machine tool, workpiece, fixture, cutting tool
3. The composition of the machining process?
Roughing, semi-finishing, finishing, superfinishing
4. How are benchmarks classified?
1. Design benchmarks
2. Process datum: process, measurement, assembly, positioning: (original, additional): (rough datum, fine datum)
5. What does machining accuracy include?
1. Dimensional accuracy
2. Shape accuracy
6. What are the original errors in the process of processing?
1) Principle error
2) Positioning error and Adjustment error
3) Error caused by workpiece residual stress
4) Tool fixture error and Tool wear
5) Machine tool spindle rotation error
6) Machine tool guide guide error
7) Machine tool transmission error
8) Process system stress deformation
9) Process system heat deformation
10) Measurement error
7.The effect of process system stiffness on machining accuracy (machine deformation, workpiece deformation)?
1) The workpiece shape error caused by the change of the position of the cutting force.
2) Machining errors caused by clamping force and gravity
3) Influence of transmission force and inertia force on machining accuracy.
8. What are the guiding errors of the machine tool guide and the spindle rotation errors?
1) The guide rail mainly includes the relative displacement error between the tool and the workpiece in the error-sensitive direction caused by the guide rail.
2) Radial runout of the spindle · axial runout · Inclination swing.
9. What is the phenomenon of "error duplication"? What is the error reflection coefficient? What can be done to reduce the error?
Due to the change of process system error and deformation, the blank error is partly reflected to the workpiece.
Measures: increase the number of cutting, increase the process system stiffness, reduce the feed, improve the blank accuracy
10. Machine tool transmission chain transmission error analysis? Measures to reduce transmission chain transmission error?
Error analysis: it is measured by the Angle error of the end element of the drive chain.
Measures:
1) The less the number of transmission chain, the shorter the transmission chain, the smaller δ φ, the higher the accuracy
2) The smaller the transmission ratio I, especially the transmission ratio at both ends
3) As the error of the end parts of the transmission parts has the greatest impact, it should be made as accurate as possible
4) Adopt calibration device

