Factors that Impact the Complexity of a Part
- Part Size
Size alone doesn’t determine the part’s complexity, but can be a factor. Bear in mind, occasionally larger planar parts are less challenging than smaller, more intricate parts. Also, consider the size of individual features, as this affects the size of the cutting tool which will be used. A larger, high-speed cutting tool can remove material more quickly, reducing the machining time.
- Part processing
The number of operations, interventions and checks needed on the part will also impact the part complexity. Depending on the geometry, finishes and tolerances etc., the order of operations may be complex, time-consuming and detailed. For example, a complex part may require a number of reorientations and manual interventions. Occasionally, a 5 axis or mill-turn machine may be the most appropriate machine, for example, if it is cost-effective to produce or requires less overhead costs.
- Part tolerances
The part tolerances may impact the choice of CNC machine used and can also affect the cost and lead time. The achievable tolerance is also impacted by the material, machining speed and tooling. Simply put, the tighter the tolerance, the more your part will cost. Higher tolerances allow for more precision, but may also involve additional processes, operations, and tools and machines, thus adding to the cost.
Types of finishes
- Bead Blasting
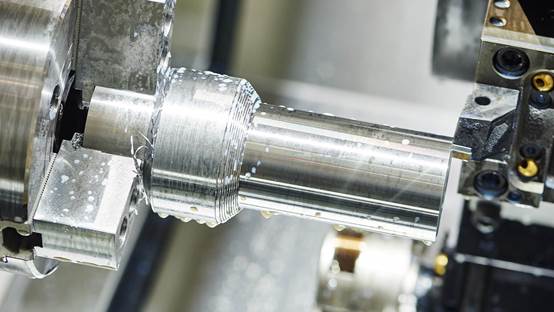
Bead Blasting involves the removal of any surface deposits or imperfections on a part for a more uniform, smooth finish. The sphere-shaped beads ensure a consistent finish and are commonly used to offer a matt finish. Finer beads can also be used for a more satin-like or dull finish.
- Anodized finishes
Anodized finishes offer a specified wear-resistant coating, usually available in a number of colors. Anodizing is generally transparent, and the layer is usually thin so be sure to consider the CNC Machine marks on the surface.
- As machined
Another finish will leave the surface roughness as the piece is machined. The exact service roughness is determined using Ra value. Typically the surface roughness for CNC machined parts is Ra 1.6-3.2µm.
CMM Inspection Reports
What is a CMM report and why do I need one?
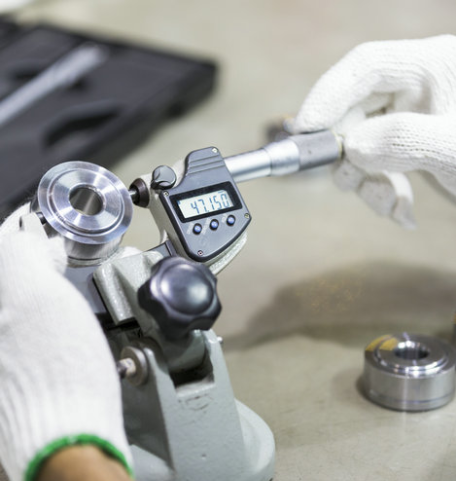
A Coordinate Measurement Machine (CMM) inspection involves using a coordinate measuring machine to inspect a part’s dimensions to ascertain whether a part meets specific tolerance requirements. A Coordinate Measuring Machine is used to measure the quality and characteristics of an object.
A CMM inspection will be needed to measure more complex parts to ensure they conform to the specification. They will often be included for extremely high-precision parts where ultimate quality and accuracy are required. At this point, smooth surface finishes will also be inspected to ensure they are accurate to the drawings and design.
A CMM works by using a probe that measures points on a workpiece. 3 axes form the machine’s coordinate system. The other system is the part coordinate system, where the 3 axes relate/correspond to the features and datum of the workpiece.
Benefits of CMM Inspection
CMM Inspections will be carried out as and when required, and will sometimes be mandatory. CMM Inspection reports can save time and reduce overhead costs by ensuring the part has been accurately manufactured to the design. This ensures nothing is left to chance and any deviations from the design or faults are found before shipping.
Depending on the industry, deviations from the specification can potentially be catastrophic (For example, the medical industry, or aerospace industry.) This final quality control check can offer reassurances before the part is signed off and delivered to the client.

