Machining Procedures
Turning: Turning is a method of cutting the rotating surface of a workpiece with a turning tool on a lathe. It is mainly used for processing various shaft, sleeve and disk parts on the rotating surface and spiral surface, including: inner and outer cylindrical surface, inner and outer conical surface, internal and external thread, forming rotary surface, end face, groove and knurling. In addition, you can drill, reaming, reaming, tapping, etc.
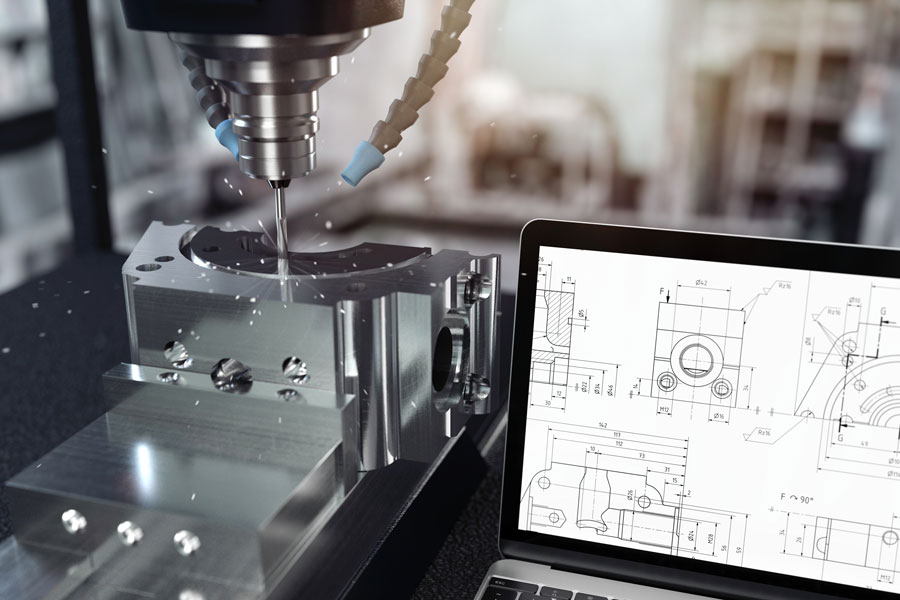
Milling processing: milling is mainly used for rough machining and semi-finishing of all kinds of planes and grooves, etc., and fixed curved surfaces can also be processed by forming milling cutter. Can be milling plane, step surface, forming surface, spiral surface, keyway, T groove, dovetail groove, thread, and tooth shape and so on.
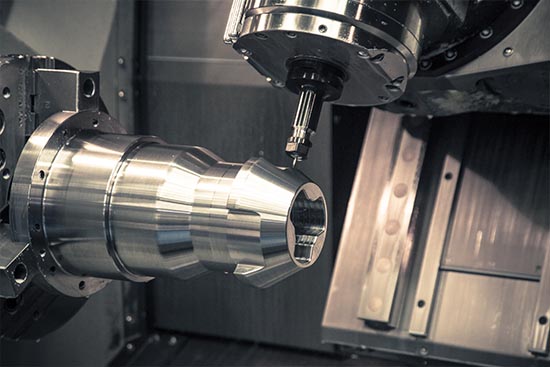
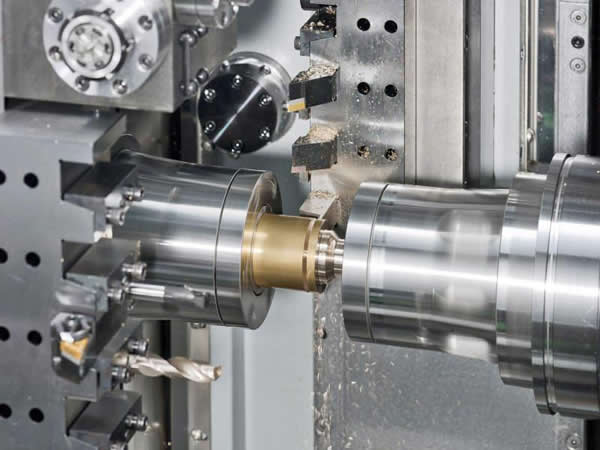
Planing processing: planing is the use of planer on the planer cutting method, mainly used to process a variety of planes, grooves and rack, spur gear, spline and other bus is a straight line forming surface. Planing is more stable than milling, but the processing accuracy is lower, the tool is easy to damage, in mass production is less used, often by higher productivity milling, broaching processing instead.
Drilling and boring: Drilling and boring are methods of machining holes. Drilling includes drilling, reaming, reaming and countersinking. Among them, drilling, reaming and reaming belong to rough machining, semi-finishing machining and finishing machining respectively, commonly known as "drilling - reaming - reaming". The drilling accuracy is low, in order to improve the accuracy and surface quality, the drilling should continue to reaming and reaming. The drilling process is carried out on the drill press. Boring is a cutting method which uses boring cutter to carry on the follow-up machining of the prefabricated hole on the workpiece on the boring machine.
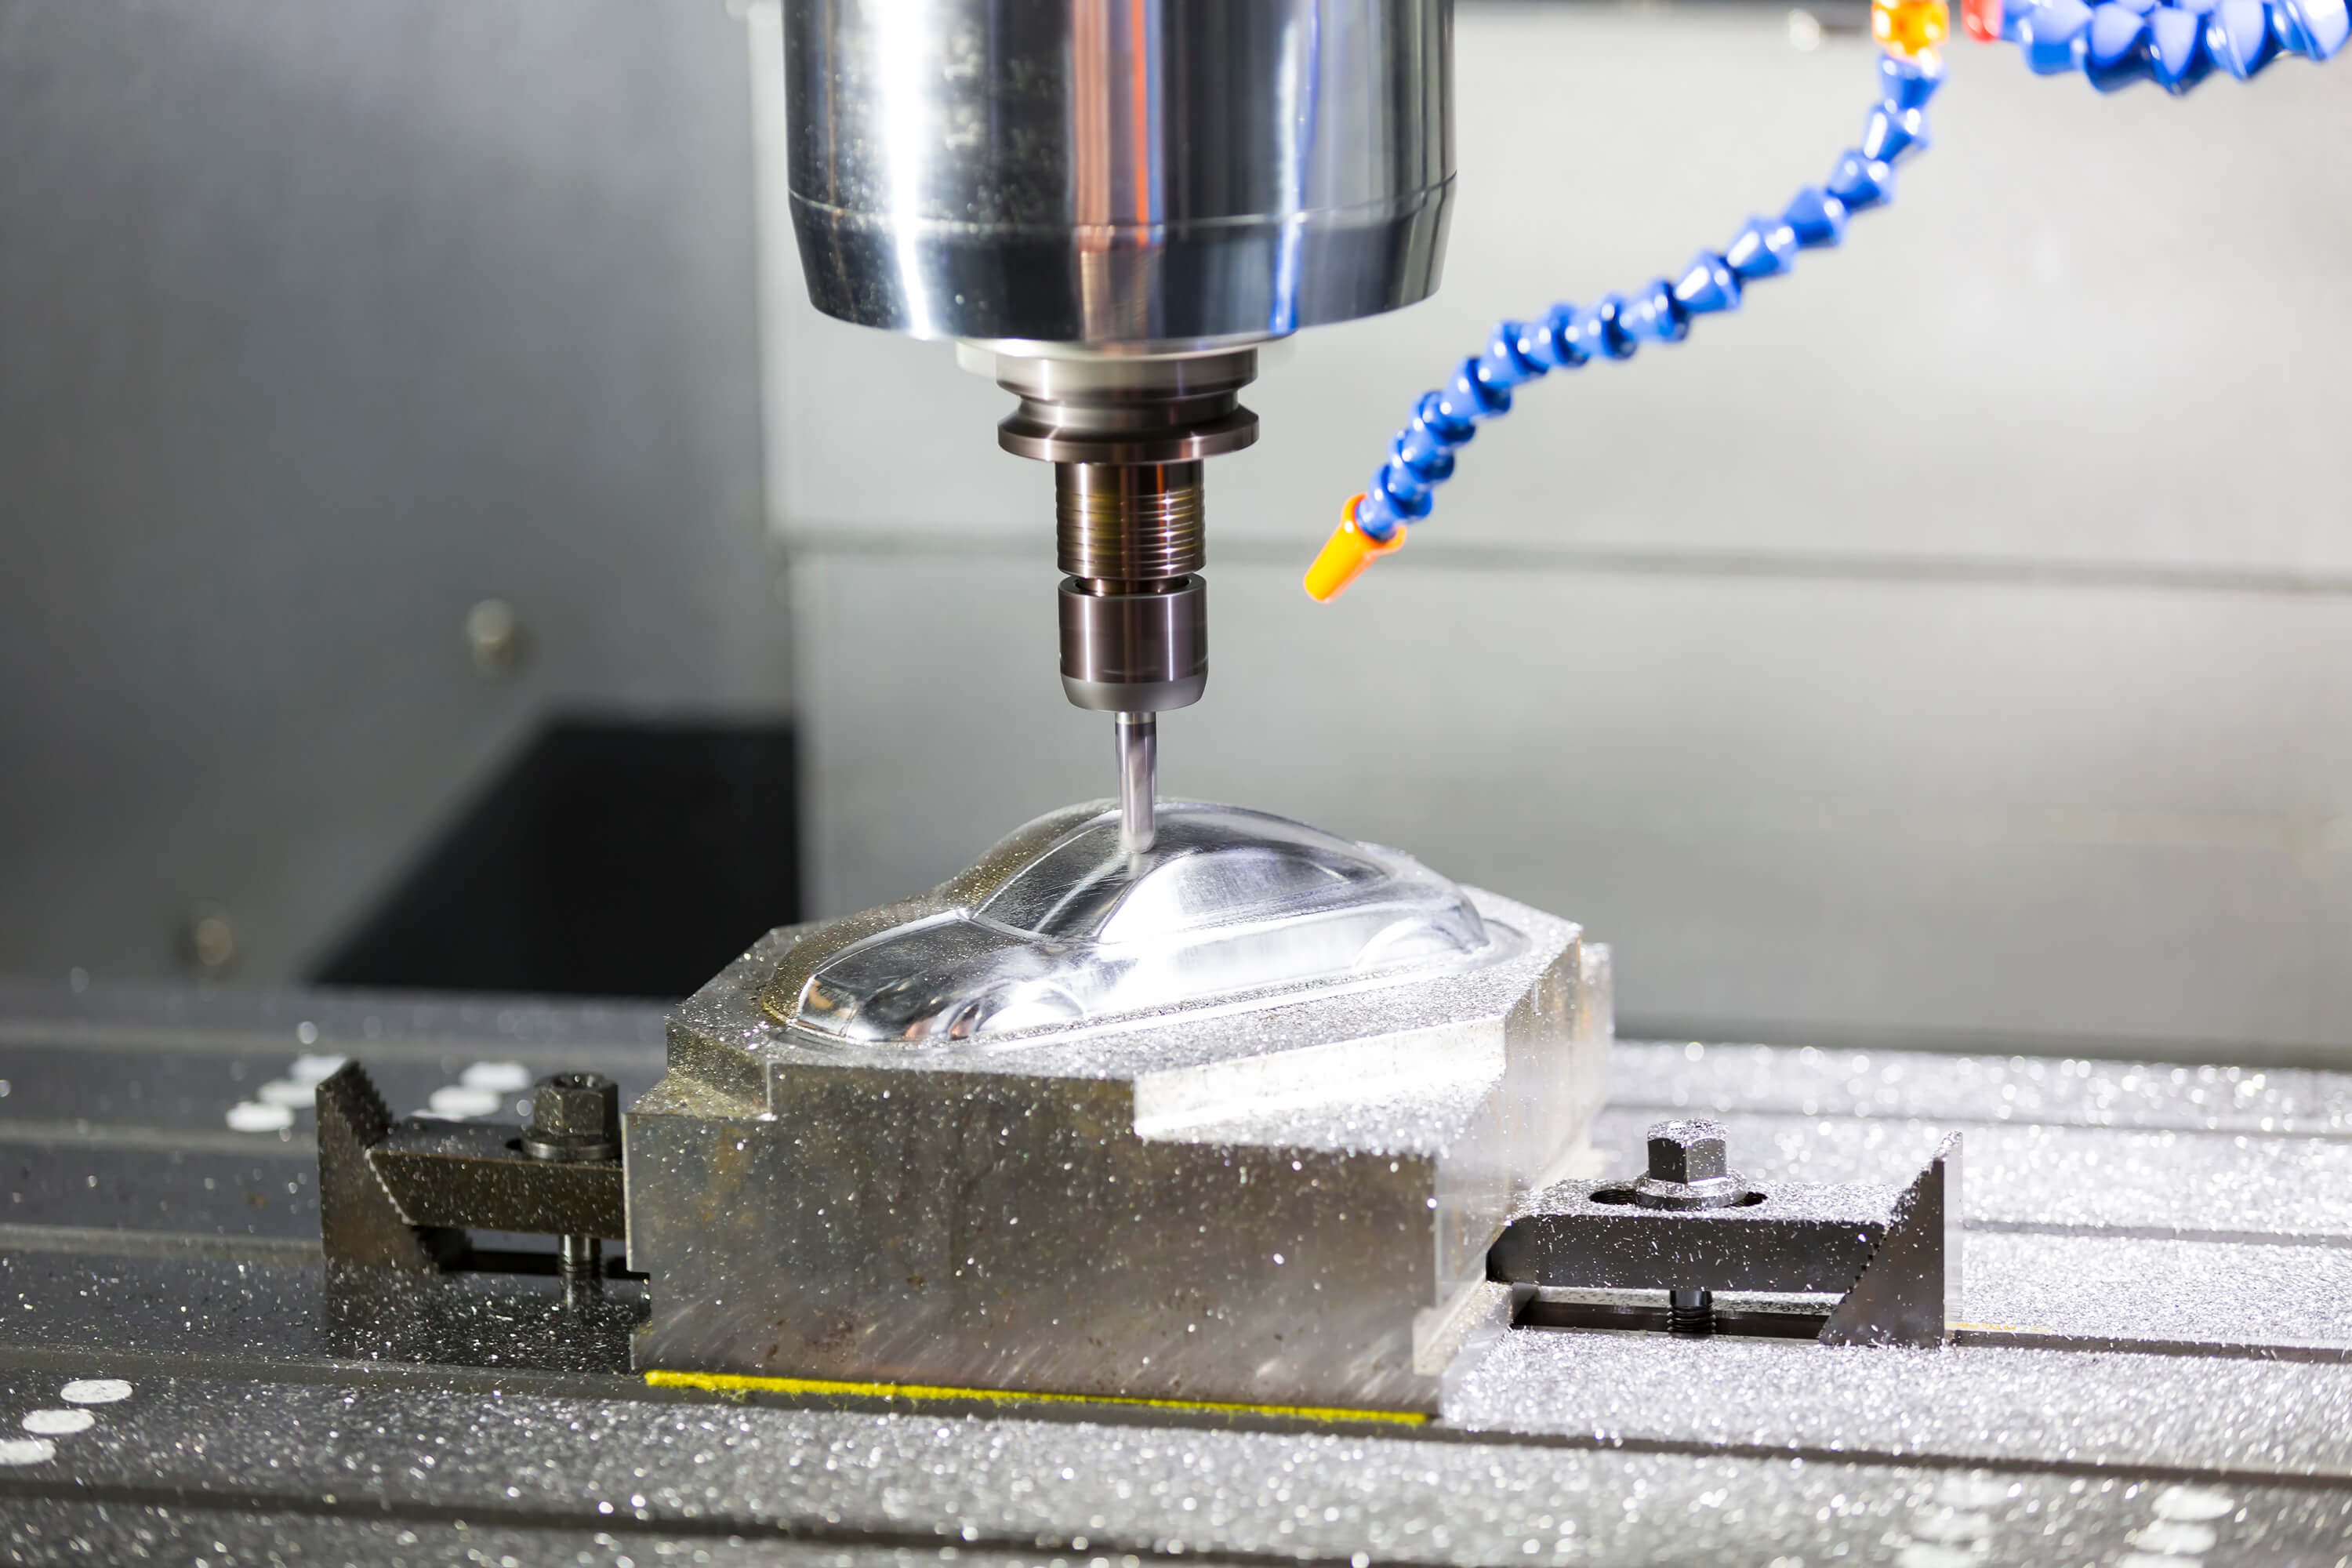
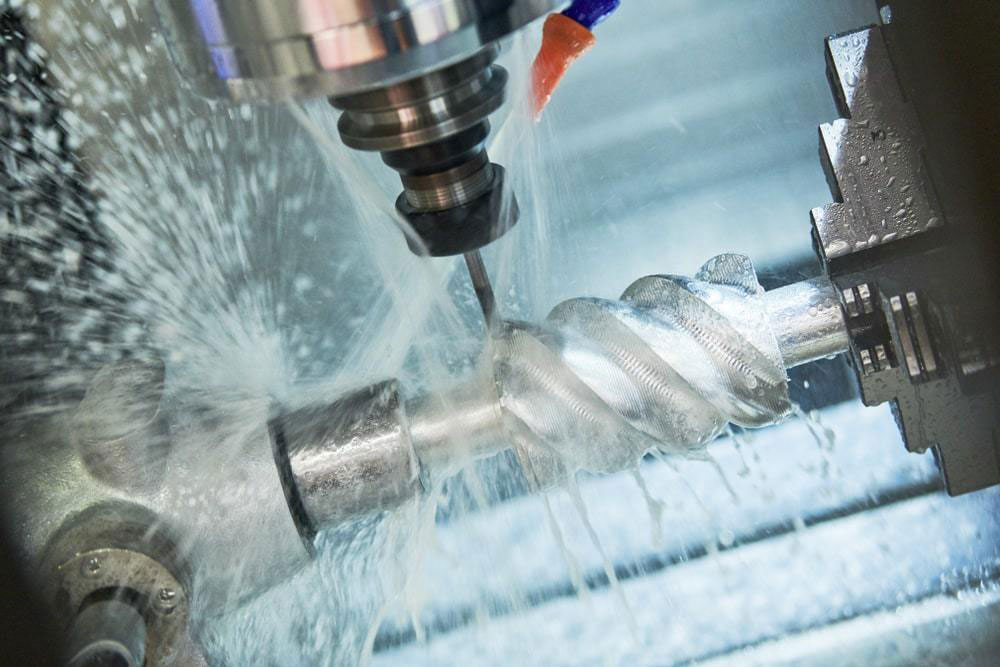
Grinding machining: Grinding machining is mainly used for finishing the inner and outer cylindrical surface, inner and outer conical surface, plane and forming surface (such as spline, thread, gear, etc.) of parts, in order to obtain higher dimensional accuracy and smaller surface roughness.
Send your message to us:
-
Aluminum CNC Machining Parts
-
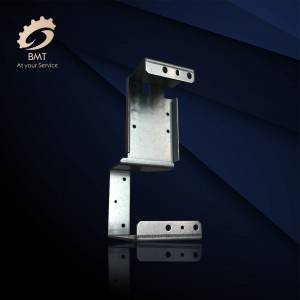
Aluminum Sheet Metal Fabrication
-
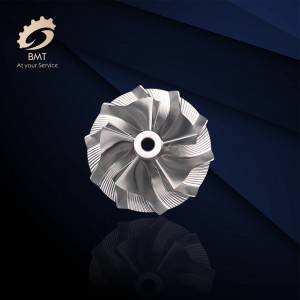
Axis High Precision CNC Machining Parts
-
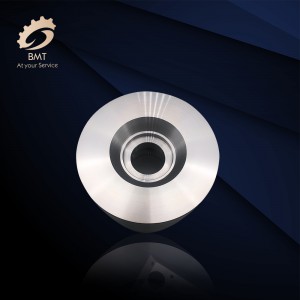
CNC Machined Parts for Italy
-
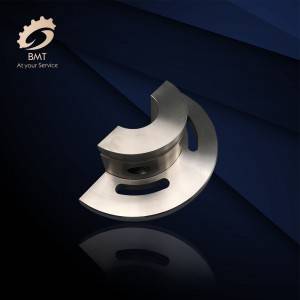
CNC Machining Aluminum Parts
-
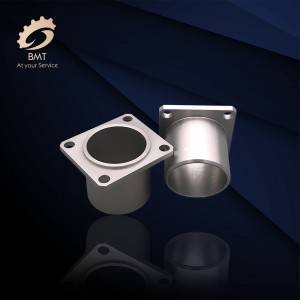
Auto Parts Machining
-
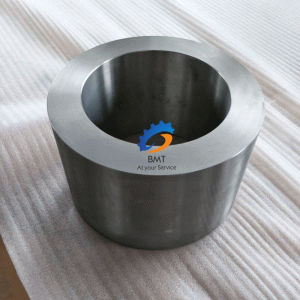
Titanium Alloy Forgings
-
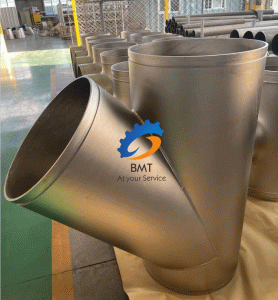
Titanium and Titanium Alloy Fittings
-
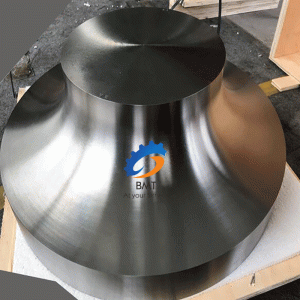
Titanium and Titanium Alloy Forgings
-
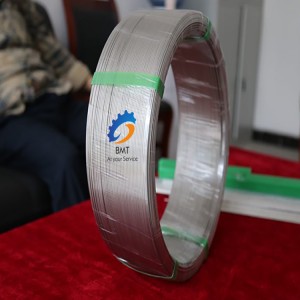
Titanium and Titanium Alloy Wires
-
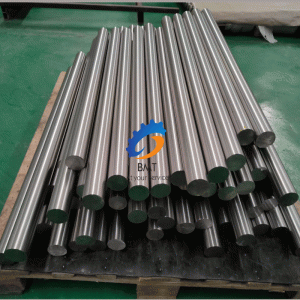
Titanium Bars
-
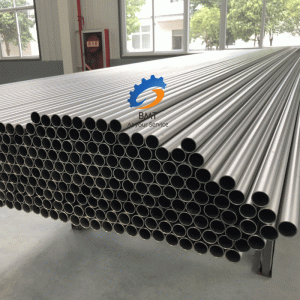
Titanium Seamless Pipes/Tubes
-
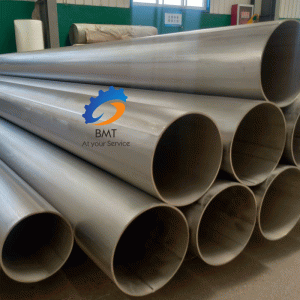
Titanium Welded Pipes/Tubes

